

How to Dry a Basement After Flooding: Step-by-Step Guide
A flooded basement throws your whole day off. You see water spreading and feel that mix of stress, confusion, and pressure to act fast.
It is difficult, as every minute the water remains, it causes more destruction and more mold. It is an emergency, and when one does not know what to do, it worsens the situation.
This is why understanding how to dry a basement after flooding is important.
In this blog, we will discuss the first steps to take, how to remove water safely. We will also demonstrate how to dry every surface and prevent future flooding.
How to Dry a Basement After Flooding
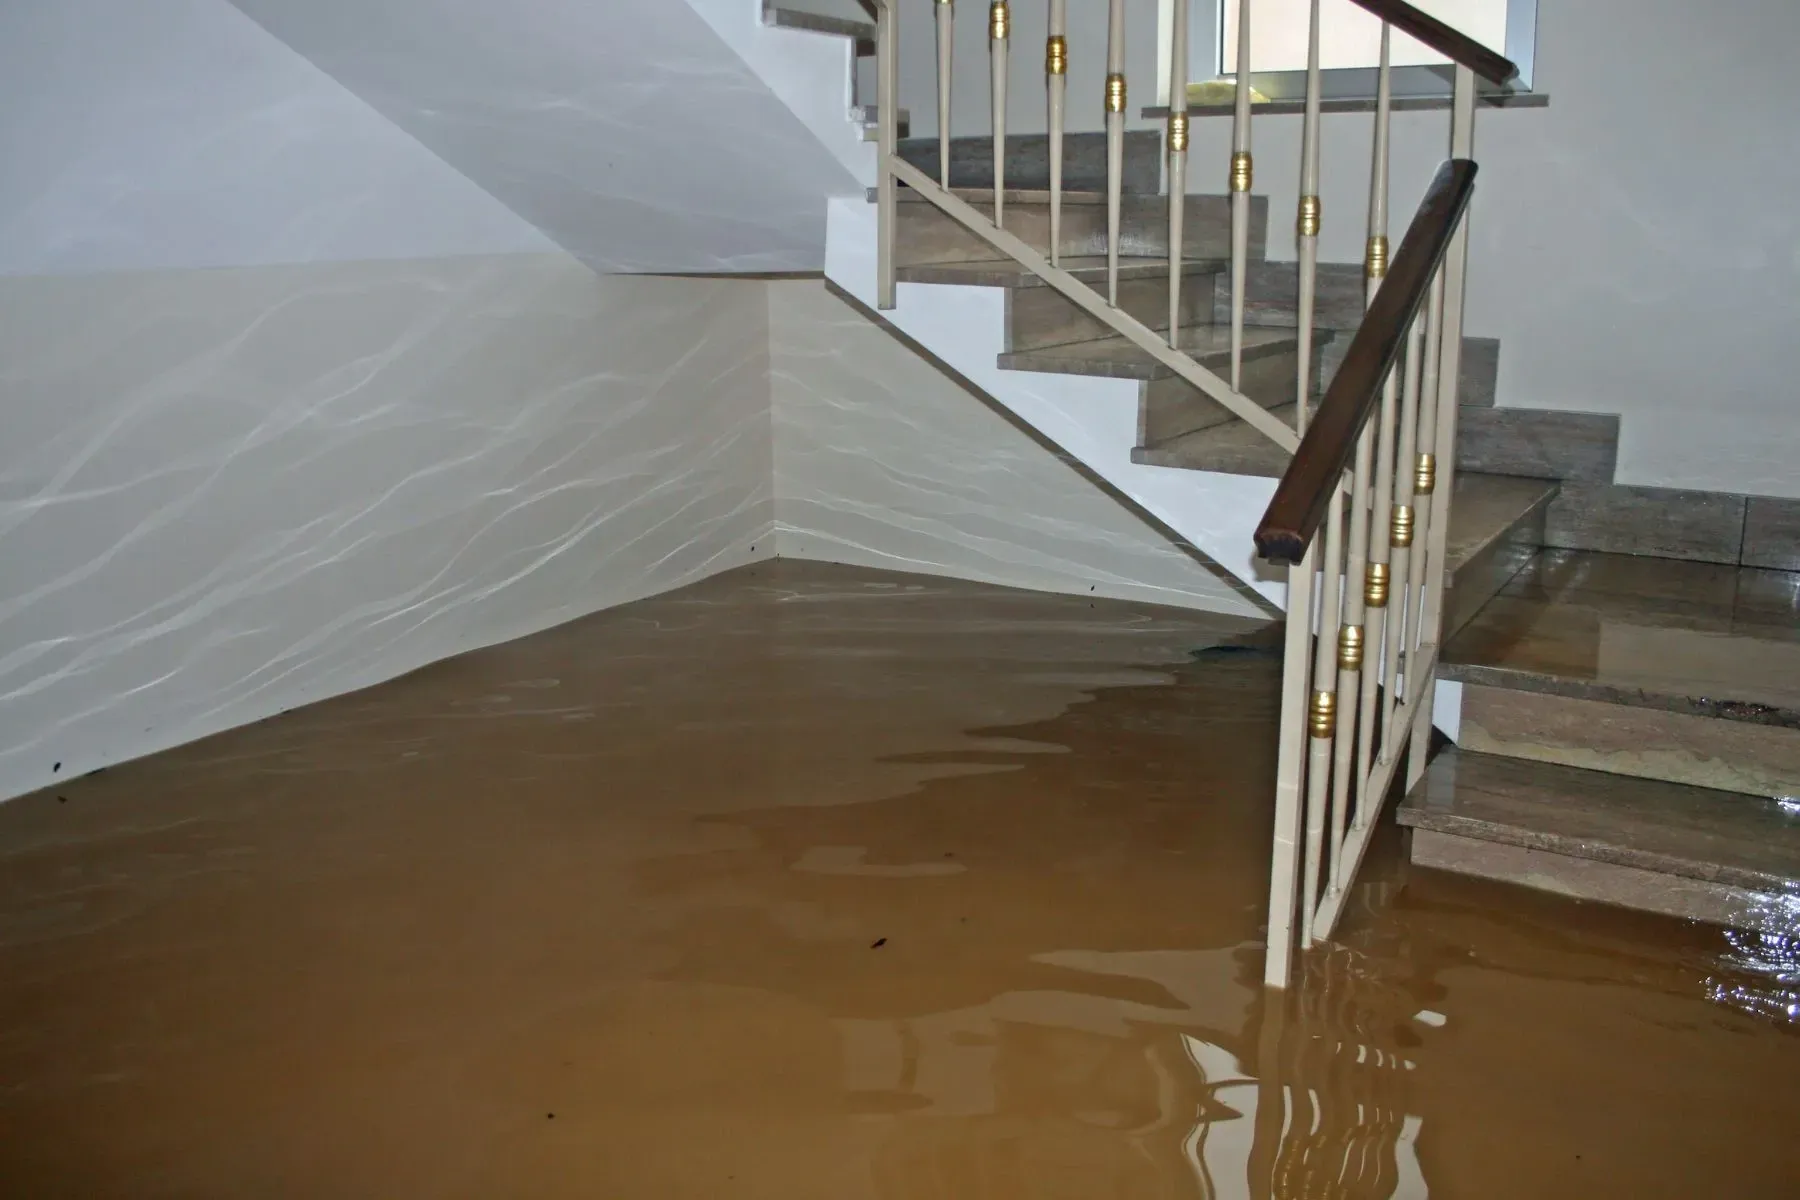
Finding water in the basement throws your brain off for a minute. Here is a step-by-step guide on how to dry a basement after flooding:
Step 1: Start With Safety Checks
Before you walk down, just stop for a second. Look around. Smell the air. If you get even a hint of gas, call your gas company.
From the top step, look at the walls and ceiling. Anything bowed, cracked, or leaning? If something looks off, just back away. That’s not something you want to stand under.
Next is power. The basement breakers need to be off. If the panel looks dry and reachable, use a wooden spoon or something similar to flip the switch.
Then, try to figure out where the water came from. A broken pipe is usually one of the common reasons. Stormwater creeps in differently. A broken pipe is a frequent cause of sudden basement flooding. Hiring a plumber in Portland promptly locates and repairs the leak, stopping additional water entry and minimizing foundation risks. If the water looks cloudy or smells unpleasant, that is dirty water. Consider calling a professional right away.
Step 2: Heading Down Into the Basement
Take slow steps. I usually tap ahead with a broom handle because it makes me feel a little safer.
Find the floor drain. If it looks clogged, clear whatever you can. Then open every window or door so air can move through.
Unplug anything only after you’re sure the breakers are off. Before lifting or moving anything big, take a few pictures. Your insurance may need them.
Step 3: Take a Quiet Look Around
Don’t rush. Walk through the room and just observe. Water leaves marks and odd little clues.
You might see warped door frames, stains climbing up the drywall, or a spot where the floor looks lifted. All of that helps you figure out how far the water spreads.
Do not switch on any of the appliances in case they get wet. Let someone who knows what they’re doing handle that part.
Pay attention to smells. A slight musty scent usually means moisture is hiding somewhere.
Step 4: Start Getting the Water Out
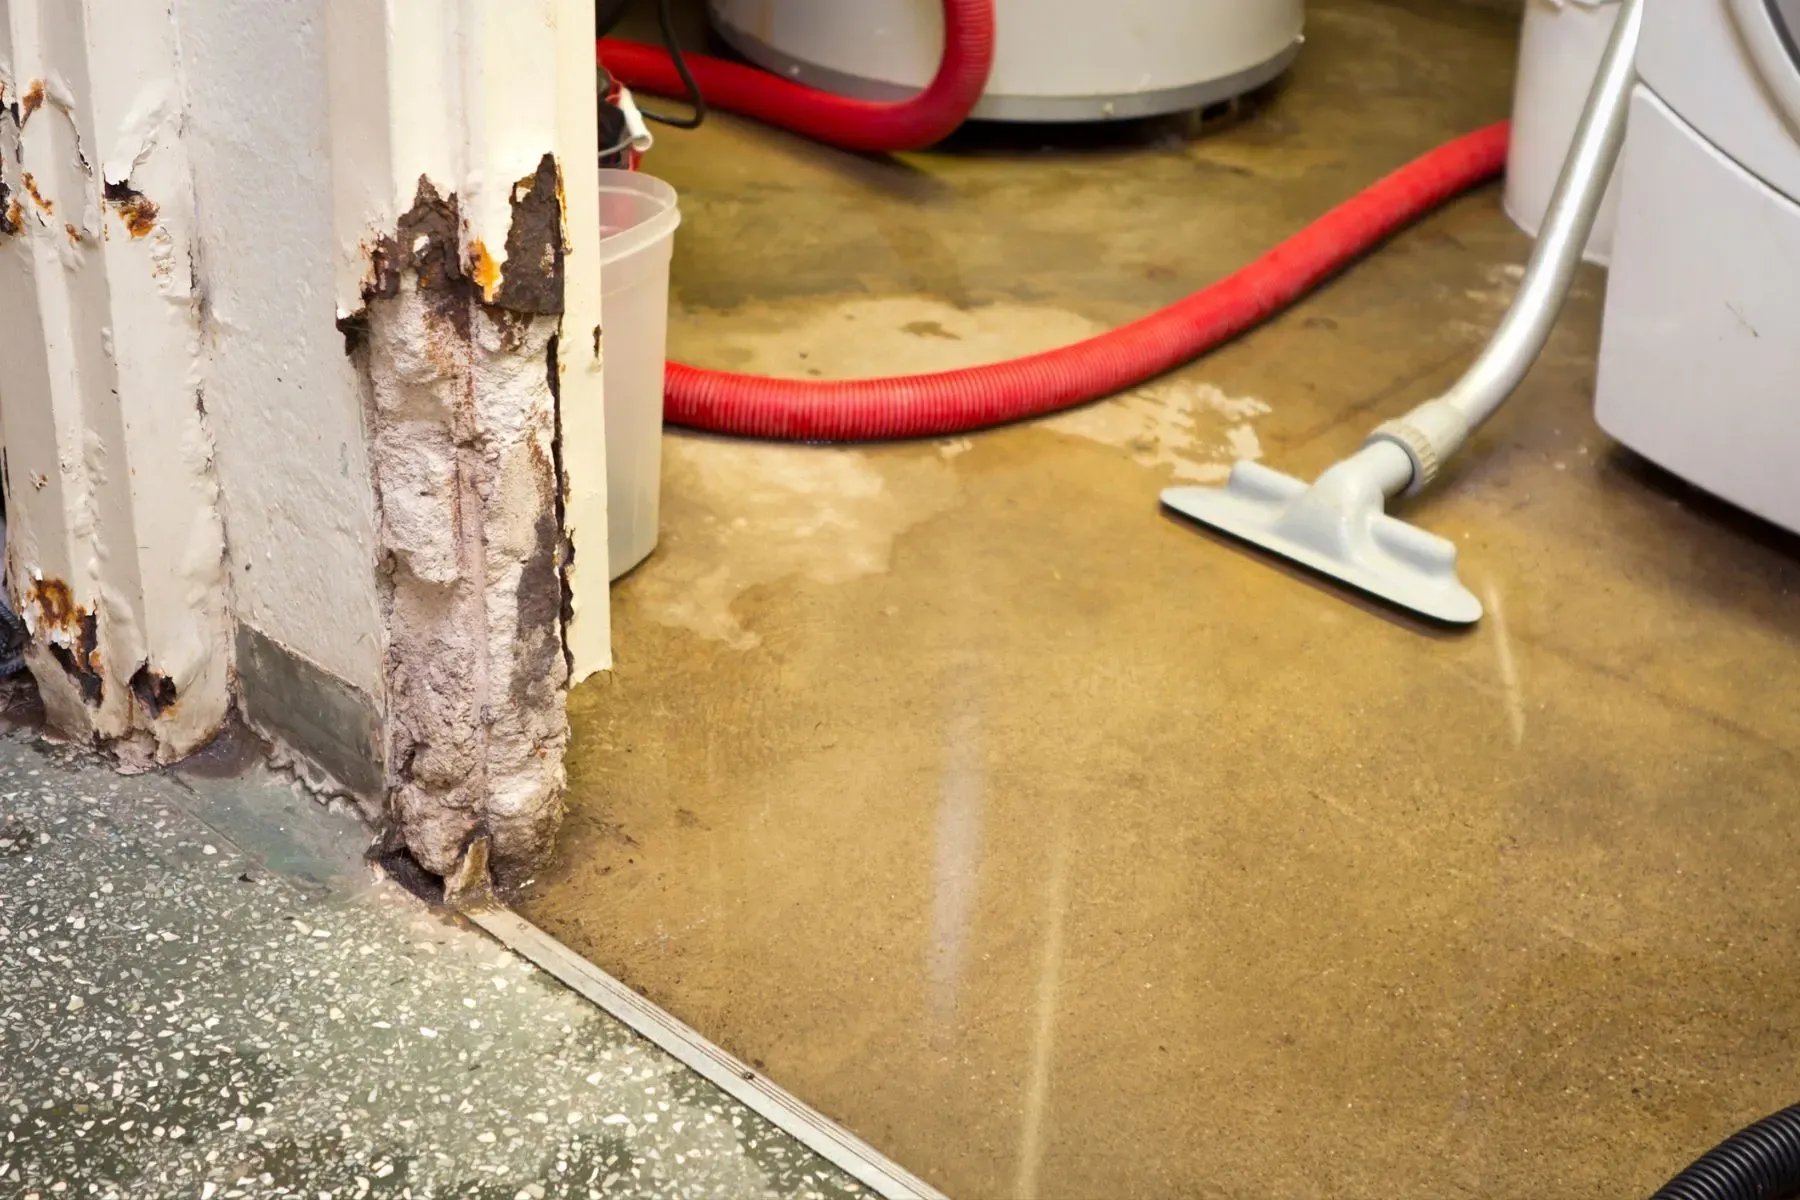
In case the water is shallow, then wet-dry vacuum. Towels, buckets, or a mop will also be enough if you are patient.
In case the water is at a greater depth, then a sump pump is used.
In case water reaches outlets or you are unable to see the floor, call experts. It will make them complete the task more quickly and securely.
Step 5: Set Things Up to Prevent This Next Time
Once all has been fixed, take a couple of minutes to prevent its recurrence.
Check gutters. See the way rainwater flies around your house. If needed, slope the soil away from the foundation. For homes being renovated or newly built, quality
Roof Installation Services in Vancouver plays a key role in directing rainwater properly from the start. A well installed roof reduces the amount of water that reaches your walls and foundation in the first place.
If your house does not have a sump pump, you might want to acquire one. If you do, add a battery backup.
Install leak sensors in places around the water heater and the laundry area. They are cheap and convenient.
In case the yard surrounding your house keeps on being flooded, speak with the contractor regarding waterproofing or drainage.
How to Remove Water From the Basement
Taking the water out of a basement can be an overwhelming task. However, once you make it step-by-step, you can easily do it.
Here’s how to do it:
Condition
Best Tool
Use When
Shallow water
Wet-dry vacuum, mops
Floor is visible
Moderate depth
Utility pump
Drains are working
Deep water
Sump or submersible pump
Water is above the ankles
No power
Battery or gas pump
The electrical panel is unsafe
High humidity
Dehumidifier
After water removal
Slow surface drying
Fans or air movers
Walls or floors remain damp
Unknown moisture
Moisture meter
Unsure if materials are dry
Start With the Water Levels Inside and Outside
Look out a moment before you pump anything out.
You do not want to pump the water in the basement too fast. Because in that case, the soil around your house is still wet or still underwater.
If the levels are close, pump slowly. If the water inside is higher, you can start removing it, but keep things steady.
When You Have No Power
You still have options to choose:
- Battery-powered pump
- Gas-powered pump
- Buckets and manual removal
- Gravity draining if your basement has a floor drain leading out
Where the Water Should Go
It’s easy to think, “I’ll just dump it in the sink.” Don’t.
Floodwater often carries dirt and sediment, and sending that into a drain can clog pipes.
We suggest:
- Direct hose leading outdoors
- A safe spot away from the foundation
- A storm drain, if local rules allow it
- Buckets taken outside if you’re stuck
Just avoid dumping water near the house. The soil will get waterlogged, and you’ll end up with the same problem twice.
Keep Pumping Until the Water Levels Match
As soon as the water inside reaches the same level as outside, stop.
If you keep going, the pressure outside can push inward on your basement walls. Once both levels match, wait. When the outside drops again, continue pumping.
Similar Read: How Does a Dry Well Work to Prevent Flooding and Damage
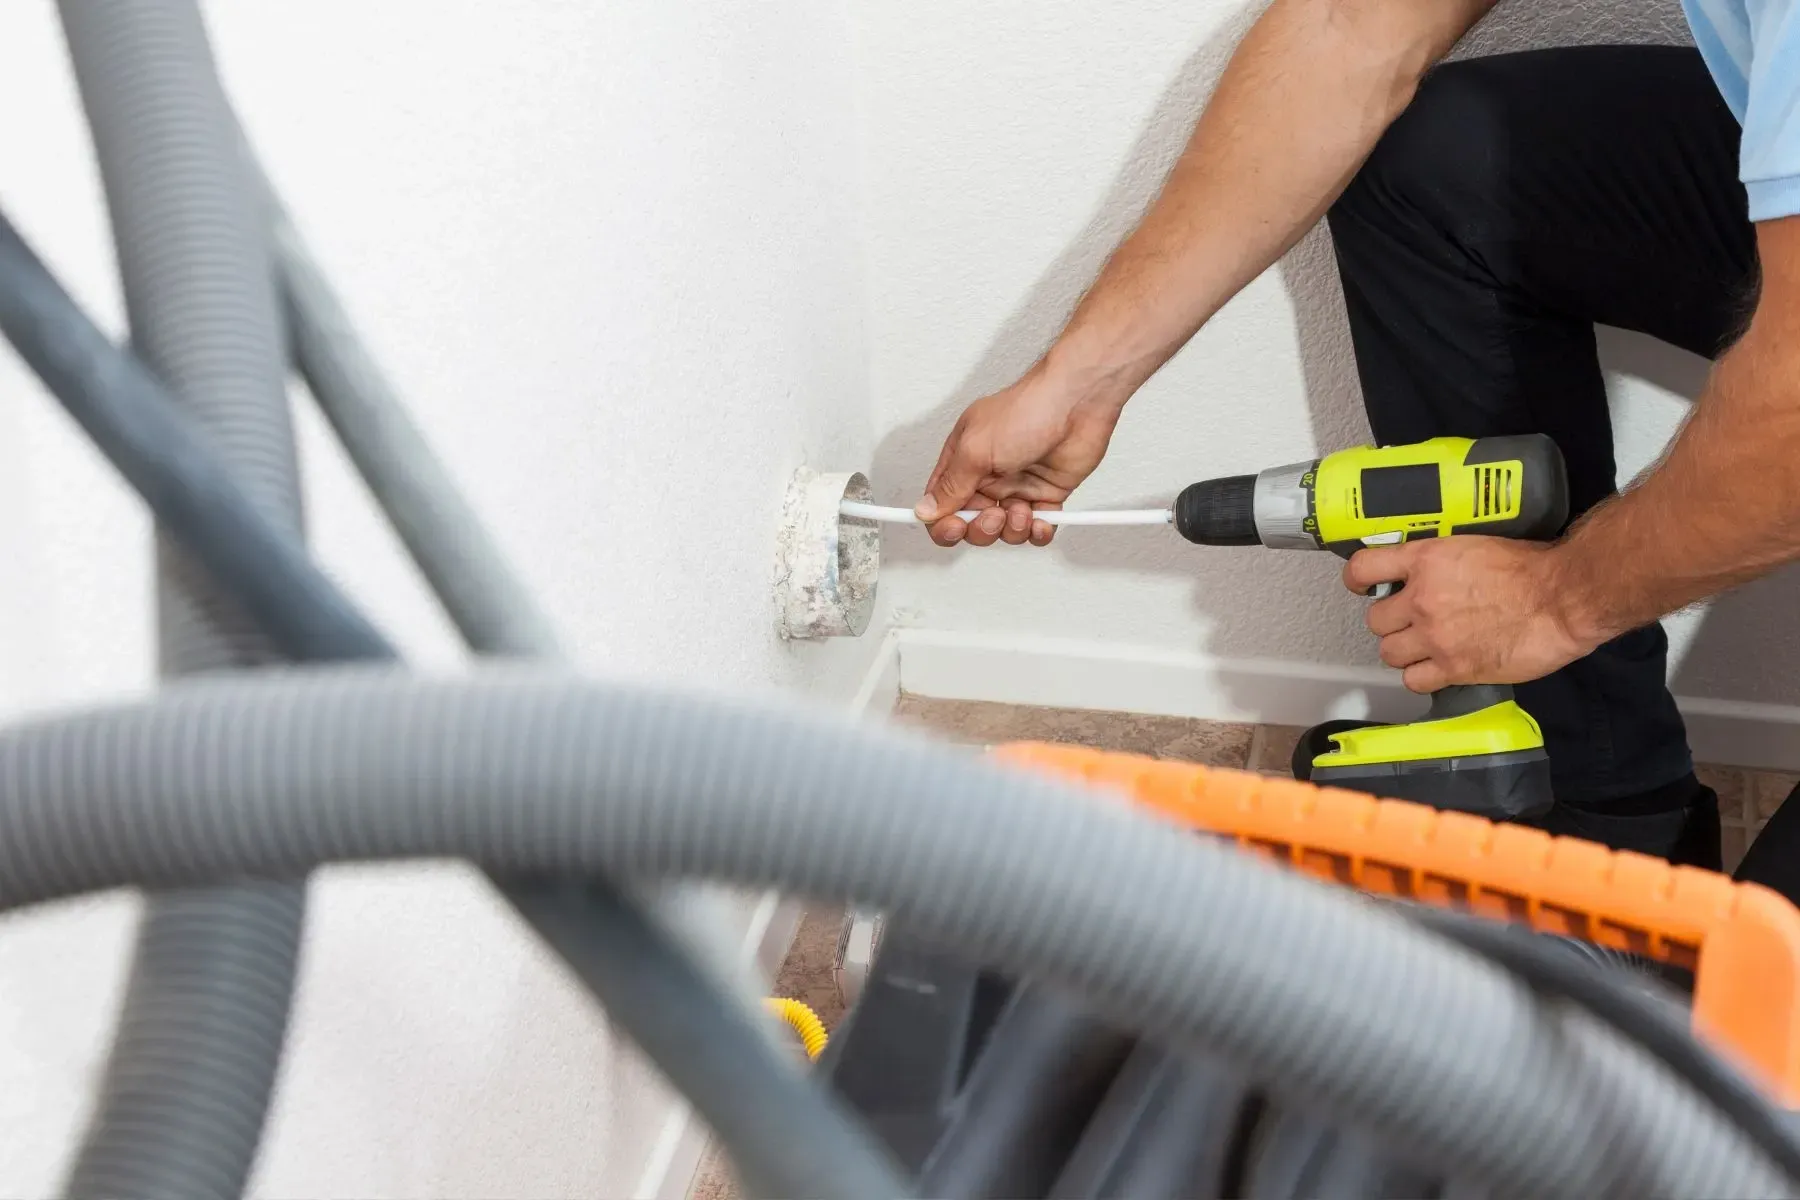
How Two Brothers Foundation Dries a Flooded Basement
At Two Brothers Foundation Repair, we’ve walked into hundreds of these situations. Here’s how we set things up and the tools we rely on:
Establishing Air Movement
Once the standing water disappears, we first put our attention on airflow.
Moisture is evaporated by steady air movement. We install powerful fans or air movers at the walls and direct them in such a manner that the air flows within the room and not just in one position.
Setting Up Efficient Airflow Paths
The air needs to have a clear way to dry quickly.
When the ambient air is drier than the one in a basement, then we open windows or doors. When the humidity is high outside, we close it all and leave the equipment to work.
We use dehumidifiers to keep the air dry, whereas fans circulate it. We also put dehumidifiers several inches away so that they can freely attract air.
Running Dehumidifiers for Continuous Moisture Removal
Fans move moisture around, but dehumidifiers remove it entirely.
We position dehumidifiers a few inches away from the walls so they can draw air freely. Then we run them continuously for at least two days.
A basement should fall into the 30 to 50 percent humidity range as it dries. Anything higher gives mold too much opportunity.
Drying Concrete Surfaces Properly
Concrete is slow to dry. It often looks fine long before it’s ready. That’s why we test it rather than trust the surface appearance.
If needed, we tape a piece of plastic to the slab. When water gathers under the concrete after 24 hours, the concrete repair should have further curing time.
Fans accelerate drying, but most of the drying is done by a dehumidifier.
Using Moisture Meters for Accurate Readings
We never rely on guesses. Moisture meters tell us whether the walls, framing, floors, or concrete still hold water. Something might look dry but still read high, which means mold could form later.
Homeowners often shut off the equipment too early. The meter stops that mistake. It gives you a real reading, not a visual guess.
Expected Drying Timeline
People often think drying a flooded basement repair takes weeks. But with the right equipment running nonstop, the most important drying happens in the first 48 hours. Some materials, especially concrete, need longer.
Conclusion
A basement flood creates a stressful mess, but you can take control one clear step at a time. Now that you understand how to dry a basement after flooding, make better decisions and ensure that your home is secured. But if you don’t want to take the risk, contact Two Brothers Foundation Repair for a free inspection.
FAQs
1. How fast can mold grow after a basement flood?
Mold can show up faster than most people expect. I’ve seen it start in under two days. Warm air and trapped moisture push it even faster. It helps to move air through space right away.
2. How long does a basement usually take to dry?
Some clear up in a few days, while others need a full week. Concrete waits the longest because it holds moisture deep inside. A moisture meter gives the most honest answer.
3. Can I dry a basement without professional tools?
You can handle many small floods with fans and a decent dehumidifier. Good airflow does half the work. Larger messes need stronger pumps and air movers..
4. Do I need to remove drywall after a flood?
Soft or swollen drywall must be removed because it keeps moisture inside the wall. That hidden moisture grows mold quickly. Even drywall that looks fine can hold water.